Radiographic (X-Ray) and ultrasonic weld inspection are the two most common methods of non-destructive testing (NDT) used to detect discontinuities within the internal structure of welds. The obvious advantage of both these methods of testing is their ability to help establish the weld’s internal integrity without destroying the welded component. We shall briefly examine these two methods of non-destructive testing (NDT). We shall consider how they are used and what types of welding discontinuities they can be expected to find. We shall examine their advantages over other inspection methods and their limitations.

Radiographic Testing (RT) – This method of weld testing makes use of X-rays, produced by an X-ray tube, or gamma rays, produced by a radioactive isotope. The basic principle of radiographic inspection of welds is the same as that for medical radiography. Penetrating radiation is passed through a solid object, in this case a weld rather that part of the human body, onto a photographic film, resulting in an image of the object’s internal structure being deposited on the film. The amount of energy absorbed by the object depends on its thickness and density. Energy not absorbed by the object will cause exposure of the radiographic film. These areas will be dark when the film is developed. Areas of the film exposed to less energy remain lighter. Therefore, areas of the object where the thickness has been changed by discontinuities, such as porosity or cracks, will appear as dark outlines on the film. Inclusions of low density, such as slag, will appear as dark areas on the film while inclusions of high density, such as tungsten, will appear as light areas. All discontinuities are detected by viewing shape and variation in density of the processed film.
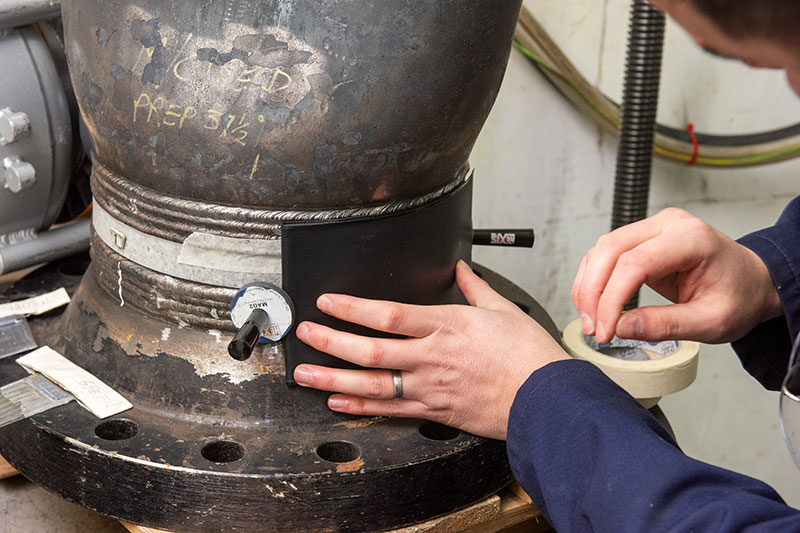
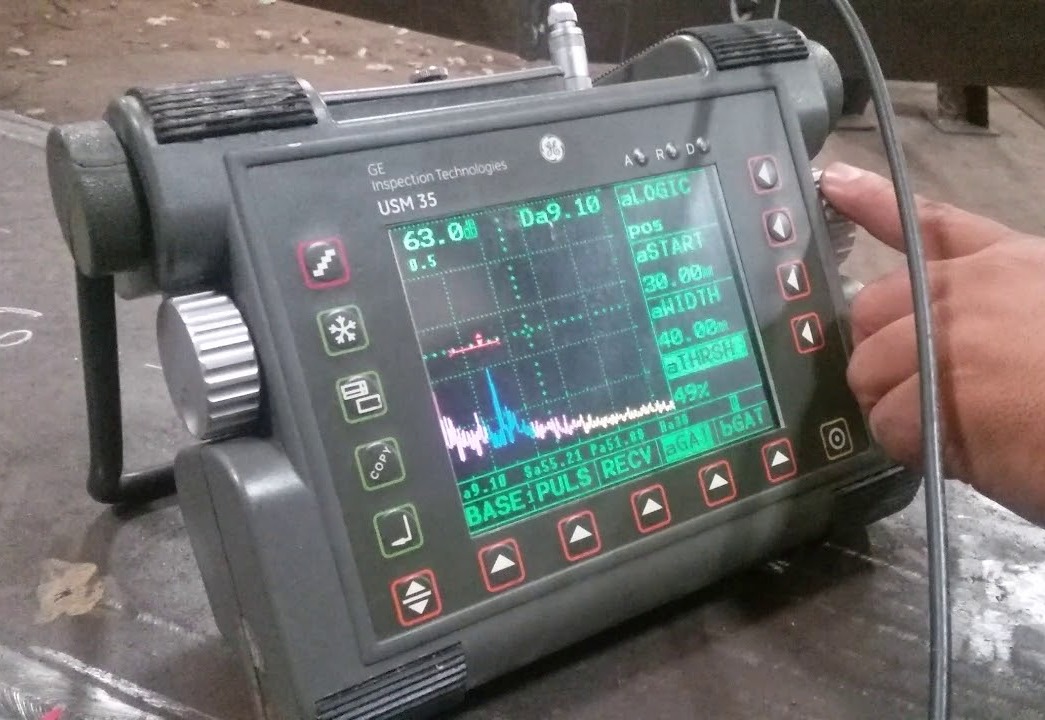
Radiographic testing can provide a permanent film record of weld quality that is relatively easy to interpret by trained personnel. This testing method is usually suited to having access to both sides of the welded joint (with the exception of double wall signal image techniques used on some pipe work). Although this is a slow and expensive method of nondestructive testing, it is a positive method for detecting porosity, inclusions, cracks, and voids in the interior of welds. It is essential that qualified personnel conduct radiographic interpretation since false interpretation of radiographs can be expensive and interfere seriously with productivity. There are obvious safety considerations when conducting radiographic testing. X-ray and gamma radiation is invisible to the naked eye and can have serious heath and safety implications. Only suitably trained and qualified personnel should practice this type of testing. Ultrasonic Testing (UT) – This method of testing makes use of mechanical vibrations similar to sound waves but of higher frequency. A beam of ultrasonic energy is directed into the object to be tested. This beam travels through the object with insignificant loss, except when it is intercepted and reflected by a discontinuity. The ultrasonic contact pulse reflection technique is used. This system uses a transducer that changes electrical energy into mechanical energy. The transducer is excited by a high-frequency voltage, which causes a crystal to vibrate mechanically. The crystal probe becomes the source of ultrasonic mechanical vibration. These vibrations are transmitted into the test piece through a coupling fluid, usually a film of oil, called a couplant. When the pulse of ultrasonic waves strikes a discontinuity in the test piece, it is reflected back to its point of origin. Thus the energy returns to the transducer. The transducer now serves as a receiver for the reflected energy. The initial signal or main bang, the returned echoes from the discontinuities, and the echo of the rear surface of the test piece are all displayed by a trace on the screen of a cathode-ray oscilloscope. The detection, location, and evaluation of discontinuities become possible because the velocity of sound through a given material is nearly constant, making distance measurement possible, and the relative amplitude of a reflected pulse is more or less proportional to the size of the reflector.
One of the most useful characteristics of ultrasonic testing is its ability to determine the exact position of a discontinuity in a weld. This testing method requires a high level of operator training and competence and is dependant on the establishment and application of suitable testing procedures. This testing method can be used on ferrous and nonferrous materials, is often suited for testing thicker sections accessible from one side only, and can often detect finer lines or plainer defects which may not be as readily detected by radiographic testing.